Snow, mud, loose rock, slick rock, wet rock – you could encounter all of this terrain and more on your backpacking trip! These rugged hiking conditions require equally rugged footwear.
In fact, picking the right pair of boots might just be the most important choice you make ahead of your expedition. The options can seem endless and sorting out the best boots from the not-so-good boots can seem overwhelming. We’re here to help! This blog will help you choose the right boot for your your backpacking trip.

Getting started
You can expect to spend between $100 – $400 on new boots. Boots over $400 are unnecessary for your course, and boots under $100 are likely to be too light-duty.
You may be able to find high-quality boots on sale. But make sure you try on boots before buying them. Go into a store and take your time, trying on several different brands and styles. Pick the best one for your foot, not the best-looking one in the store.
Boot Design
Height: High-cut boots are a necessity. They provide good balance and ankle support for off-trail terrain and heavier loads.
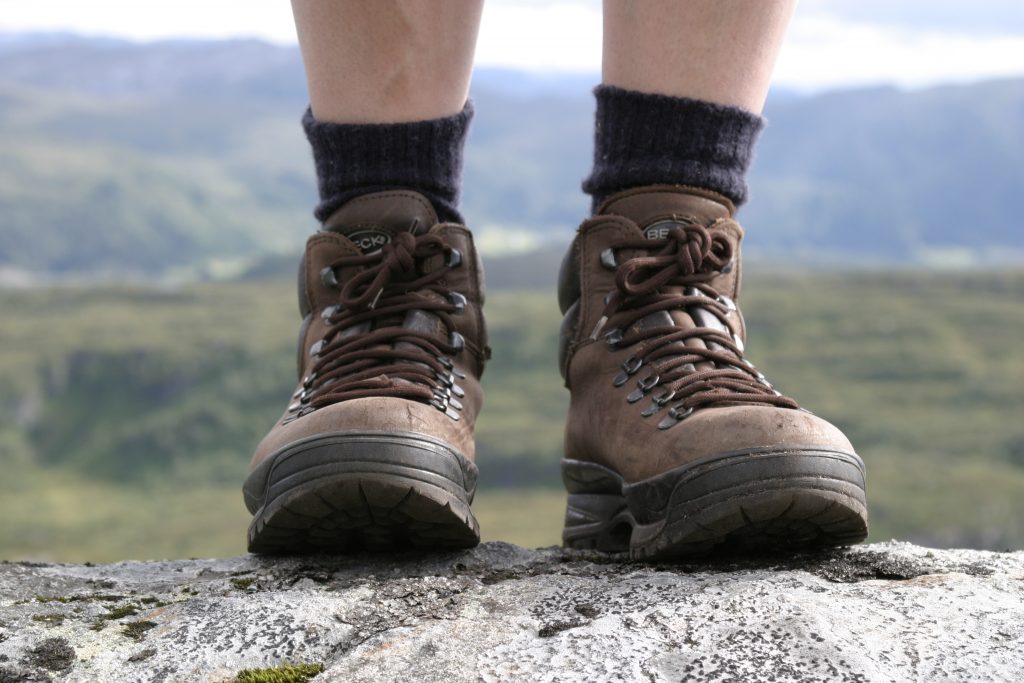
Material: There are two primary boot materials: synthetic and leather. Synthetic boots are lighter and easier to break in. Leather boots have a much longer lifetime but take longer to dry when they get wet. If you only have a few weeks before your expedition, opt for synthetic boots to ensure your boots will be fully broken in before your expedition.
Sole and Tread: Your soles should have a heavy, stiff tread that will improve traction on slick or snowy surfaces. Vibram soles are a great reliable and high-quality option. To test stiffness, try to bend your boot in half (the long way.) If the boot folds entirely, it is too flexible. If the boot does not fold at all, it may be too stiff for your expedition. Look for a boot with a moderate amount of flexibility.

Trying on your boots
When boot shopping, wear the socks you plan to bring on course. Make sure to also bring any special orthotics you regularly use. Try on at least three pairs of boots before deciding. Ask a salesperson for help – they can guide you in the right direction.
To start, fully lace the boots and walk around the store to get a feel for the boot fit. If your store has an incline ramp, walk up and down it several times. Jump around – get wild 😊
While walking around, pay attention to:
- Toes: You should have some room to wiggle your toes at the front of your boot. Your toes should not be pressed against the front.
- Heels: Your heel may slip a little in the back of the boot, especially while walking uphill, but no more than ¼”. If your heel slips at all, try retying the boot tightly around the ankle.
- Pressure Points: There should be no pressure points. These will become worse over time and cause to blisters.
- Stiffness: Your boots should feel stiffer than usual footwear, but still comfortable.
If you are worried about your boots fitting correctly, ask the salesperson if you can wear them around the house for a few hours and return them if there is a problem.
Breaking in your boots
Once you have your new boots, it is critical that you break them in. A boot that isn’t broken in will give you blisters and cause foot pain on your course!
Wear your boots as much as you can – walk around town or go on a hike with friends! You should wear them for at least 10 miles. Leather boots take even longer to break in, so plan on wearing these around for several weeks before your course.

Still have questions or concerns?
Contact your course advisor at [email protected] or 720.381.6589


is it ok if i all ready have a pare of hiking boots i’ll make sure that they meet the requirements.
Absolutely! Bringing a pair of boots that you already have is a great idea. We just suggest they are in good-enough condition that they can handle several more miles and days of wear-and-tear.